Arduino for kids: Getting Started with basics
Introduction to Arduino
Arduino is like a magic tool that allows you to control lights, sounds, and even make your own inventions! Today, we're going to learn how to write simple instructions for Arduino using a special language. Imagine telling your computer exactly what you want it to do!
What You'll Need
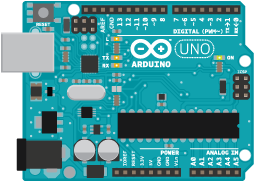
Arduino Board: This is your magic controller. you can use any ATMega328p PU Based Boards
such as SajiloBot
Computer: To write and send instructions to the Arduino.
USB Cable: To connect the Arduino to your computer.[for non Arduino we need FTDI or serial to USB]
Step 1: Set Up Your Arduino [Arduino IDE]
Connect your Arduino to the computer using the USB cable.
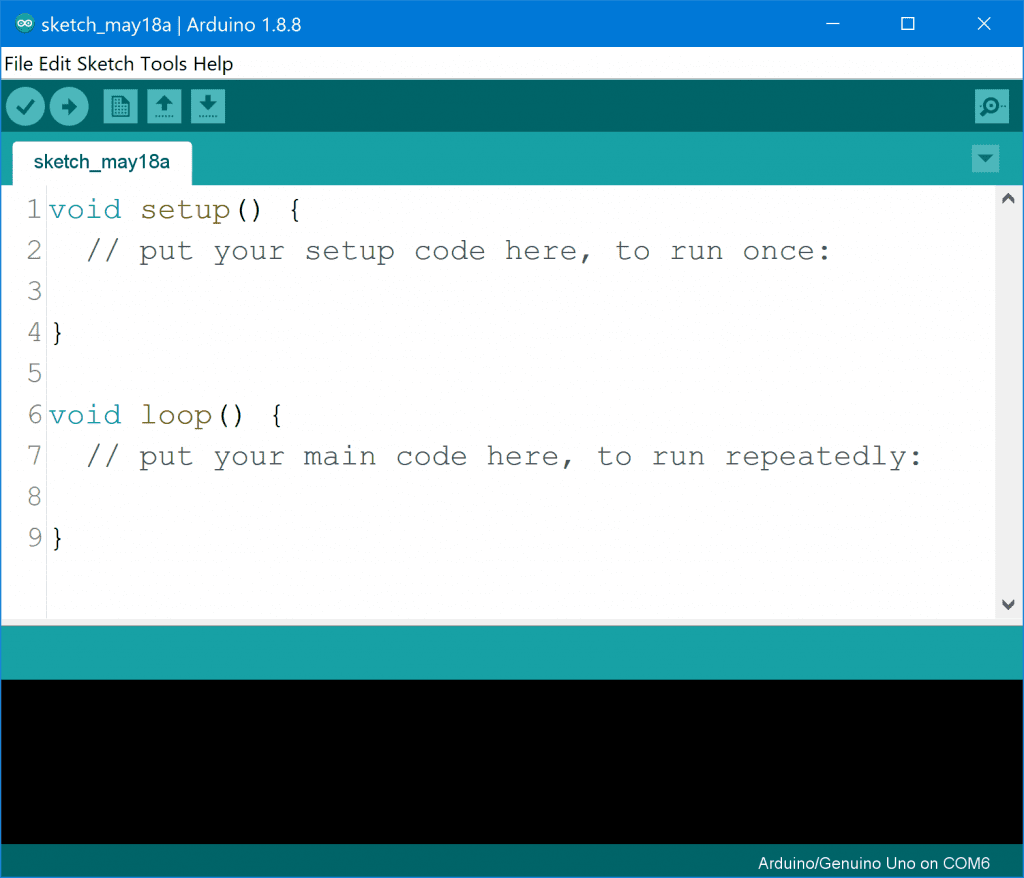
Open the Arduino IDE (the special program to talk to your Arduino).
Step 2: Write Your First Code[Arduino Sketch]
// Your First Arduino Code
void setup() {
// This part runs once when you start your Arduino
// It's like saying, "Get ready to do something!"
}
void loop() {
// This part keeps running over and over again
// It's like saying, "Now, do something, again and again!"
}
Notes: // indicates comments which are lines of code that are not executed
Step 3: Make the LED Blink[Blink Code]
// Blinking LED
const int ledPin = 13; // LED connected to digital pin 13
void setup() {
pinMode(ledPin, OUTPUT); // Set the LED pin as an output
// This line says, "The LED is like a switch, and I can turn it on or off!"
}
void loop() {
digitalWrite(ledPin, HIGH); // Turn the LED on
delay(1000); // Wait for a second
digitalWrite(ledPin, LOW); // Turn the LED off
delay(1000); // Wait for a second
}
Scratch to Arduino Translation:
Scratch Block: when green flag clicked
Arduino Equivalent: void setup() { }
Scratch Block: forever { }
Arduino Equivalent: void loop() { }
Scratch Block: turn on [LED] for 1 second
Arduino Equivalent: digitalWrite(ledPin, HIGH); delay(1000); digitalWrite(ledPin, LOW); delay(1000);
Step 4: Push Button LED Control
// Push Button LED Control
const int buttonPin = 2; // Button connected to digital pin 2
const int ledPin = 13; // LED connected to digital pin 13
void setup() {
pinMode(buttonPin, INPUT); // Set the button pin as an input
pinMode(ledPin, OUTPUT); // Set the LED pin as an output
}
void loop() {
int buttonState = digitalRead(buttonPin); // Read the state of the button
if (buttonState == HIGH) { // If the button is pressed
digitalWrite(ledPin, HIGH); // Turn the LED on
} else {
digitalWrite(ledPin, LOW); // Turn the LED off
}
}
Scratch to Arduino Translation:
Scratch Block: when green flag clicked
Arduino Equivalent: void setup() { }
Scratch Block: forever { }
Arduino Equivalent: void loop() { }
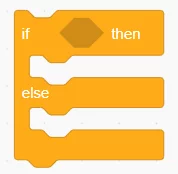
Scratch Block: if <button pressed> then
Arduino Equivalent: int buttonState = digitalRead(buttonPin); if (buttonState == HIGH) { digitalWrite(ledPin, HIGH); } else { digitalWrite(ledPin, LOW); }
Step 5: Making Sounds with a Buzzer
// Making Sounds with a Buzzer
const int buzzerPin = 9; // Buzzer connected to digital pin 9
void setup() {
pinMode(buzzerPin, OUTPUT); // Set the buzzer pin as an output
}
void loop() {
tone(buzzerPin, 1000); // Play a sound with a frequency of 1000 Hz
delay(1000); // Wait for a second
noTone(buzzerPin); // Stop the sound
delay(1000); // Wait for a second
}
Scratch to Arduino Translation:
Scratch Block: when green flag clicked
Arduino Equivalent: void setup() { }
Scratch Block: forever { }
Arduino Equivalent: void loop() { }
Scratch Block: play sound [1000] for 1 second
Arduino Equivalent: tone(buzzerPin, 1000); delay(1000); noTone(buzzerPin); delay(1000);
UNDERSTANDING ARDUINO CODES:
void setup() This function runs once when you power up your Arduino. It's like a setup crew preparing things for the show.
void loop() This function runs repeatedly, like the main act of the show. Anything you want to happen over and over again goes here.
delay(time);
Use: Adds a delay in milliseconds.
Example: delay(1000); // adds a 1-second delay
millis();
Use: Returns the number of milliseconds since the Arduino started running.
Example: unsigned long currentTime = millis(); // gets the current time
micros();
Use: Returns the number of microseconds since the Arduino started running.
Example: unsigned long currentMicros = micros(); // gets the current microseconds
delayMicroseconds(us);
Use: Adds a delay in microseconds.
Example: delayMicroseconds(100); // adds a 100-microsecond delay
pinMode(pin, mode);
Use: Configures the pin as INPUT or OUTPUT.
Example: pinMode(2, INPUT); // configures pin 2 as INPUT
digitalWrite(pin, state);
Use: Sets the mode of the pin to HIGH or LOW.
Example: digitalWrite(13, HIGH); // sets pin 13 to HIGH (ON)
digitalRead(pin);
Use: Reads the digital state of the pin (HIGH or LOW).
Example: int state = digitalRead(7); // reads digital state from pin 7
analogWrite(pin, value);
Use: Writes an analog value to a pin (PWM).
Example: analogWrite(9, 150); // writes PWM value to pin 9
analogRead(pin);
Use: Reads the analog voltage on the pin (0 to 1023).
Example: int value = analogRead(A0); // reads analog value from pin A0
analogReference(type);
Use: Sets the reference voltage for analog input.
Example: analogReference(DEFAULT); // sets the default reference voltage
Serial.begin(speed);
Use: Initializes serial communication with a specific baud rate.
Example: Serial.begin(9600); // initializes serial communication at 9600 bps
Serial.available();
Use: Returns the number of bytes available for reading from the serial port.
Example: int availableBytes = Serial.available(); // gets the number of available bytes
Serial.read();
Use: Reads the next byte from the serial port.
Example: char data = Serial.read(); // reads a byte from the serial port
Serial.print(data);
Use: Prints data to the serial port.
Example: Serial.print("Hello"); // prints the string "Hello"
Serial.println(data);
Use: Prints data followed by a newline to the serial port.
Example: Serial.println("World"); // prints the string "World" with a newline
attachInterrupt(digitalPin, ISR, mode);
Use: Attaches an interrupt function to a specific digital pin.
Example: attachInterrupt(2, myFunction, RISING); // attaches myFunction to interrupt 2 on rising edge
detachInterrupt(digitalPin);
Use: Detaches an interrupt function from a specific digital pin.
Example: detachInterrupt(2); // detaches interrupt function from pin 2
pulseIn(pin, state);
Use: Measures the duration of a pulse on a pin.
Example: unsigned long duration = pulseIn(4, HIGH); // measures pulse duration on pin 4
tone(pin, frequency);
Use: Produces a tone on a pin with a specified frequency.
Example: tone(8, 1000); // generates a 1000 Hz tone on pin 8
noTone(pin);
Use: Stops the tone on the specified pin.
Example: noTone(8); // stops the tone on pin 8


0 Comments