We can create Battle bot using SajiloBot very easily as it already has L293d motor driver chip added to the SajiloBot .The outer body can be easily made through cardboard and the whole project requires only few hobby supplies that can be easily found in Electronics shops as well as online Retailers.
LETS GET STARTED:
MATERIALS REQUIRED:
1. SajiloBot
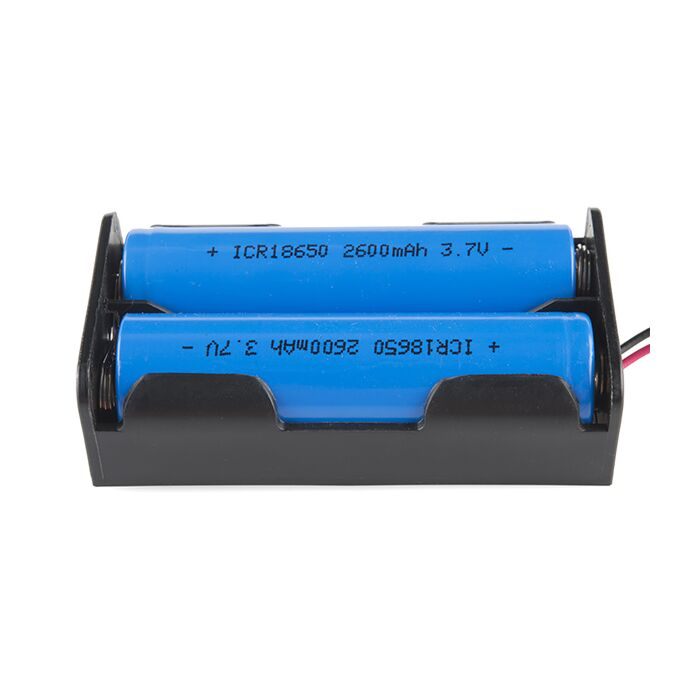
2. Battery and battery holder
3. Wires and Insulating Tape[Black tape]
4. Bo motors with gear and Wheels
5. HOT GLUE GUN
6. SOLDERING KIT
7. VEGA QUICK SUPERGLUE
BATTLE BOT BODY:
The body can be made using cardboard or pre-made cardboard box that can fit SajiloBot inside .Glue the pieces together except the top because we want to put the circuit into the body of Battle Bot. Make sure that the SajiloBot fits inside the box so that our Battle Bots brain is safe in arena.
The size of SajiloBot is 11.5 cm x 9 cm.
First, you need to cut out the shapes. If you don't like this approach, you can use box that can fit SajiloBot. Glue the pieces together except the top because we want to put the circuit into the body of battle bot.
ELECTRONICS:
Connect the batteries and motors as shown in the diagram check the polarity of both motors to ensure both wheels work/turn in the same direction.
Add separate battery for weapon or for balloon fight we can use simple spikes.
CODING:
We can code the SajiloBot to accept motor controls from a mobile phone by using Bluetooth Module
/*Bluetooth controlled bot
Modified for SajiloBot
*/
#define IN1 2
#define IN2 3
#define IN3 7
#define IN4 8
#define ENA 9
#define ENB 10
#define Speed 180
void setup() {
Serial.begin(9600);
pinMode(IN1, OUTPUT);
pinMode(IN2, OUTPUT);
pinMode(IN3, OUTPUT);
pinMode(IN4, OUTPUT);
}
void loop() {
if (Serial.available() > 0) {
char value = Serial.read();
Serial.println(value);
if (value == 'U') {
Forward();
} else if (value == 'D') {
Backward();
} else if (value == 'S') {
Stop();
} else if (value == 'L') {
Left();
} else if (value == 'R') {
Right();
}
}
}
void Forward() {
analogWrite(ENA, Speed);
analogWrite(ENB, Speed);
digitalWrite(IN1, HIGH);
digitalWrite(IN2, LOW);
digitalWrite(IN3, HIGH);
digitalWrite(IN4, LOW);
}
void Backward() {
analogWrite(ENA, Speed);
analogWrite(ENB, Speed);
digitalWrite(IN1, LOW);
digitalWrite(IN2, HIGH);
digitalWrite(IN3, LOW);
digitalWrite(IN4, HIGH);
}
void Stop() {
digitalWrite(IN1, LOW);
digitalWrite(IN2, LOW);
digitalWrite(IN3, LOW);
digitalWrite(IN4, LOW);
}
void Left() {
analogWrite(ENA, Speed);
analogWrite(ENB, Speed);
digitalWrite(IN1, HIGH);
digitalWrite(IN2, LOW);
digitalWrite(IN3, LOW);
digitalWrite(IN4, HIGH);
}
void Right() {
analogWrite(ENA, Speed);
analogWrite(ENB, Speed);
digitalWrite(IN1, LOW);
digitalWrite(IN2, HIGH);
digitalWrite(IN3, HIGH);
digitalWrite(IN4, LOW);
}
Name of APP:


.png)
.png)


![Sajilobot Kit UPDATE [Updated dec-5]](https://blogger.googleusercontent.com/img/b/R29vZ2xl/AVvXsEjOO3cL0tkFR7lYapTmAHVSGsdJxNXM6j5rvee4CsMk4r9_bJ6lxWJjfD2R9fSqWxdPUT59eWFDAw7ySy8MSkUt3VZ0tjo53R7VIsArFasd_IOPZT2Iy_0w5tS-zpurUmylfsGVCjOfxPY5LqVUcm239m2BqfmnMv4XkqX5cRXQ4HPy4WiSWOgq1o5LhIf3/w72-h72-p-k-no-nu/IMG_20230703_120223.jpg)


0 Comments